How to create a Virtual Bookshelf?
Virtual Bookshelf available at Publuu is a branded website that allows you to keep all your online publications in one place - your own library. It is a beneficial solution for enterprises that publish their digital magazines, eBooks, interactive catalogs, and many others on a regular basis.
Publuu’s Virtual Bookshelf creator is super intuitive and does not require any coding or graphic skills, so even the beginner will handle creating it with our step-by-step guide below.
NOTICE!
The Virtual Bookshelf feature is exclusively available for Professional and Premium plan subscribers. If you are currently on a Basic or Optimum plan, please upgrade your plan to access it.
To create a Virtual Bookshelf for your online publications, first log in to your Publuu account.
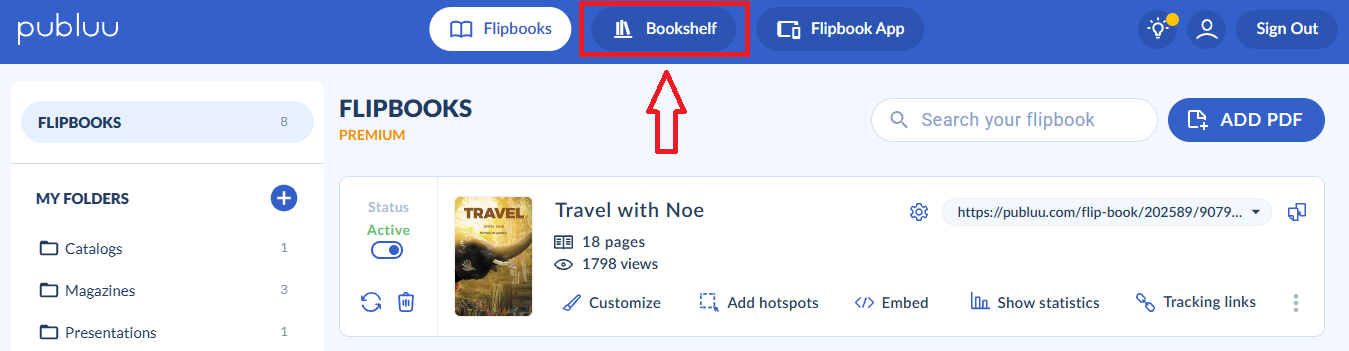
In the control panel, head over to the top bar, where you can find a BOOKSHELF button. Click on it to get started!
As soon as you enter the BOOKSHELF CREATOR, your library will be ready for customization.
You can personalize it using multiple options available on the left-hand menu.
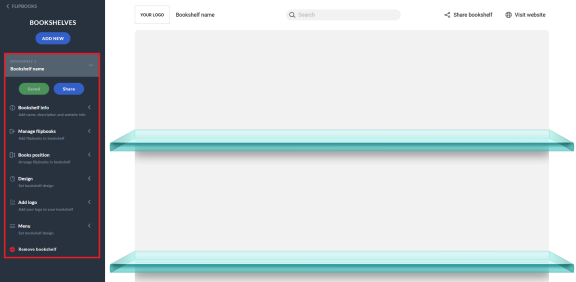
Let’s discuss the customization options one by one and together create a digital bookshelf tailored to your needs!
BOOKSHELF INFO
This tab allows you to change the name of your bookshelf and add its description.

In the box below, you can enter your website address. It will be linked to the VISIT WEBSITE button located in the top-right corner of your bookshelf.
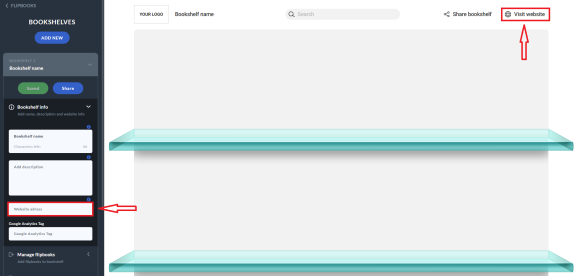
In the next field, you can paste your Google Analytics tag. By connecting it to your bookshelf, you will gain access to valuable information about how your readers engage with your flipbooks.

If you don't have your Google Analytics Tag yet, this guide will help you to create it.
MANAGE FLIPBOOKS
In this section, you will find all the flipbooks you've created so far. Now, you can add them to your library.
To do this, simply switch the SHOW IN BOOKSHELF toggle to the right, and your flipbook will automatically appear on the shelf.

If you have trouble finding your flipbook - don't worry! You can always use a search toolbar above the list.

TIP: You can change the order of your books by switching the SORT BY DATE and NEWEST FIRST toggles located above the search bar.

BOOK POSITION
Flipbooks already added? Great! Now it's time to arrange them on shelves.
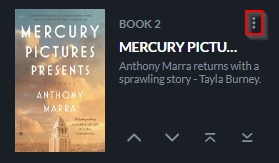
To change its position, simply use the arrows located below each book. Using arrows with a horizontal bar will allow you to move your book to the first or last position with one click.

Alternatively, you can click on the "three dots" button, and drag your flipbook in the chosen direction.
DESIGN
Let's don't forget about personalizing the design of your bookshelf.
You can do it in two ways - by adjusting the colors or using one of the premade themes.
COLORS
If you prefer having complete control over your design, you can change the look of your bookshelf's background with three easy-to-use sliders:
- Color tone
- Saturation
- Lights
To adjust the selected parameter, just click on the slider, move it in the desired direction, and release it.

THEMES
You can also change the look of your bookshelf with one click with our background templates. Just click on THEMES, and then on the chosen pattern. Your bookshelf's background will change automatically.

ADD LOGO
Want to brand your bookshelf with your logo and favicon? It's as simple as can be.
To incorporate your logo, simply select the CHANGE LOGO button.
![]()
Then, double-click on your chosen file, and voila! Your new logo will appear next to your bookshelf's name in the library.
You can add favicon in similar way. Press the ADD FAVICON button, and than double-click on your chosen image.
Uploaded icon will appear next to your bookshelf's name, but in the bookmark of your browser.
MENU
The last section is designed to add finishing touches to your bookshelf.
You can hide each listed element, by switching its toggle to the left.

SHARING
Congratulations, you've just finished creating your first bookshelf. Let's share it now!
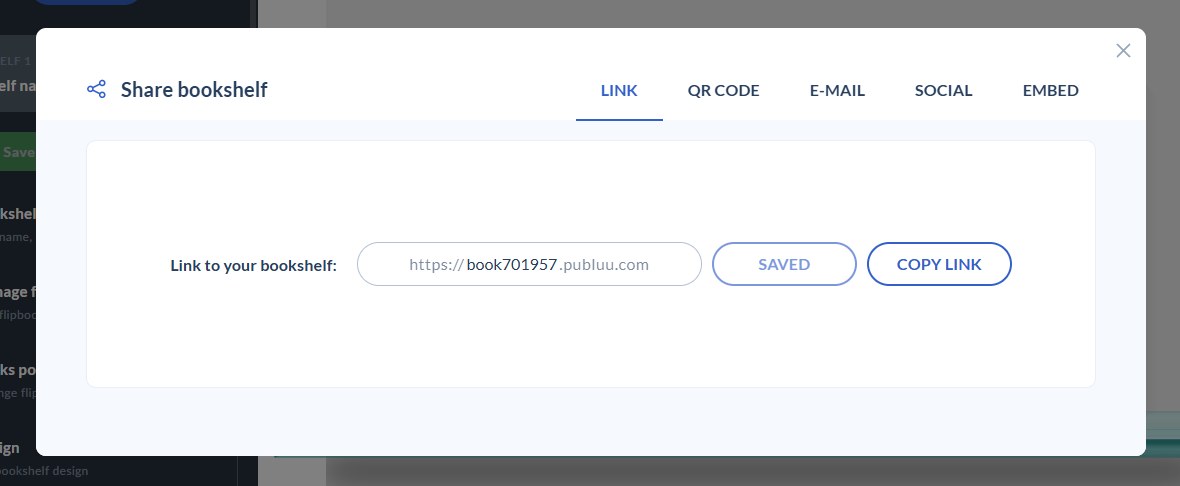
To do so, press the SHARE BOOKSHELF button located in the top-right corner.
![]()
It will launch the pop-up window where you’ll be able to copy your link, download the QR code, or share it directly on social media platforms.

You can also share your bookshelf or embed it on your website by clicking the blue Share button at the top of the hand menu.

This will open a pop-up window where you can select from various options.
CREATING NEW BOOKSHELF
Both of our premium plans offer users the ability to create multiple bookshelves.
With the Professional plan, you can create up to 3, and with the Premium plan, you can establish up to 5 virtual libraries.
To create a new one, simply click the "ADD NEW" button located at the top of the left-hand menu.

To remove your bookshelf, click on "REMOVE BOOKSHELF" button located at the bottom of the menu.
![]()
Hey! Your bookshelf is now ready, but do you know you can also publish your flipbooks in your mobile app? That's right! Visit the article below to learn how to do it: