


How to integrate Publuu with Zapier?
Zapier lets you connect Publuu with thousands of apps and automate repetitive tasks without writing any code. With simple "trigger → action" workflows, you can simplify lead collection, notifications, flipbook management, and more.
What you can automate
Zapier supports several Publuu triggers and actions that allow you to build helpful workflows:
Triggers (events that start an automation)
- New Flipbook – appears when a new flipbook is created.
- New Lead Form Submission – happens when someone fills out a lead form in your flipbook.
- New Tracking Link Click – occurs when a reader opens a tracking link.
Actions (events Zapier performs in Publuu)
- Create Flipbook – generate a new flipbook from a PDF URL.
- Find Flipbook – search for a flipbook by ID, URL, or name.
- List All Flipbooks – gets every flipbook from your Publuu account and send them to Zapier as a list you can use in your automation.
Examples of automations
You can use Zapier to:
- Create a flipbook automatically from a PDF which is stored in your Google Drive.
- Send an email in Gmail every time someone submits a lead form.
- Monitor opening of your flipbooks and send stats to your external analytics tool.
How to get started
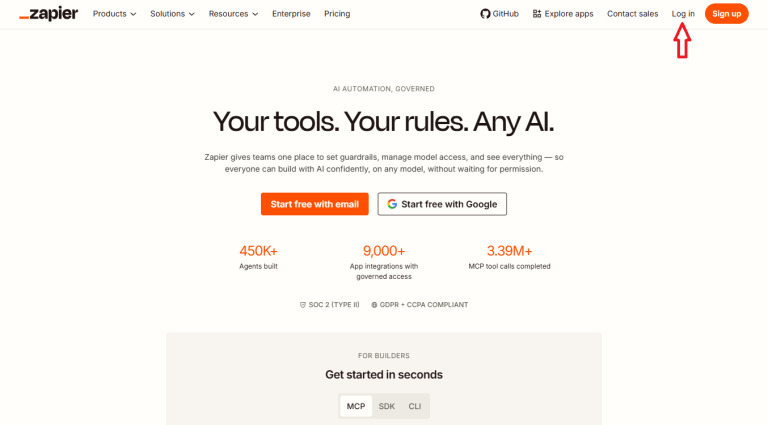
Create a Zapier account or log in, into your existing one.
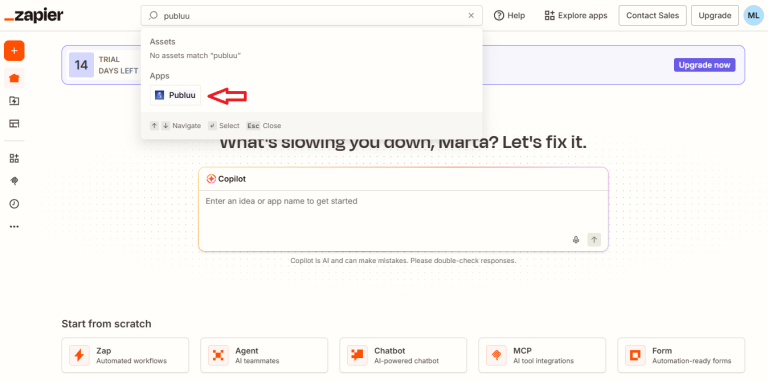
Search for Publuu in the Zapier app directory.
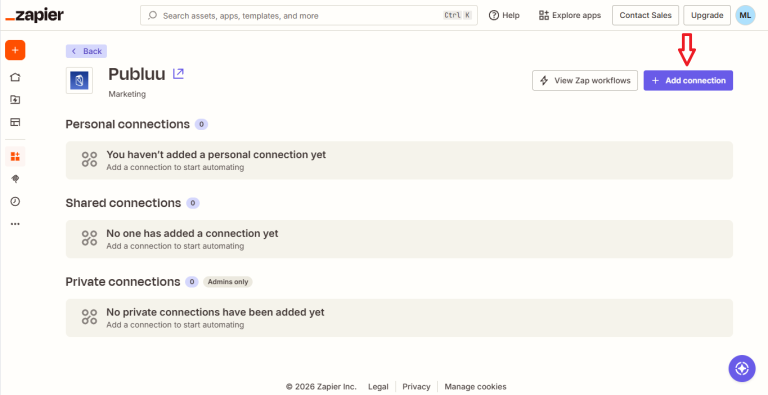
Click the Add connection button at the top right corner to link Publuu with Zapier.
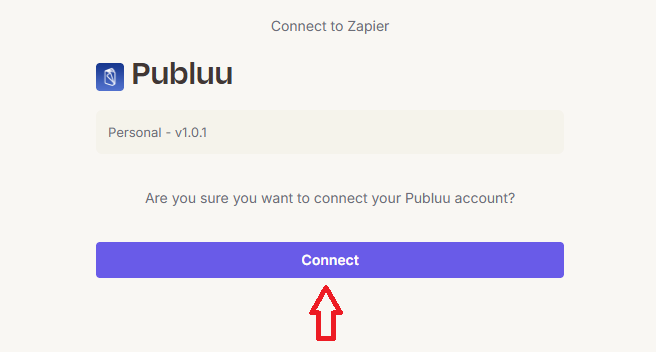
Next, click the Connect button to join your Publuu account to Zapier.
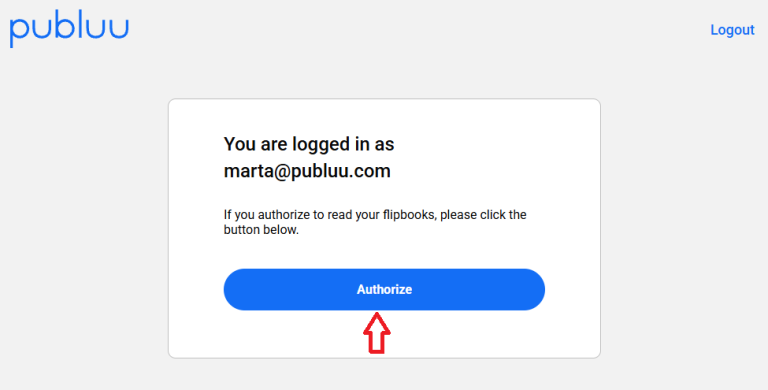
After that, click the Authorize button to allow Zapier to access your Publuu account.
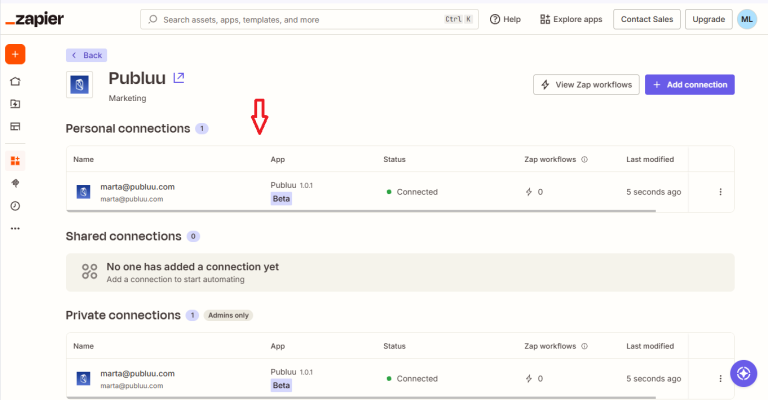
At the end, your Publuu connection will appear in the App connections list, confirming that the app has been successfully linked with your Zapier account.
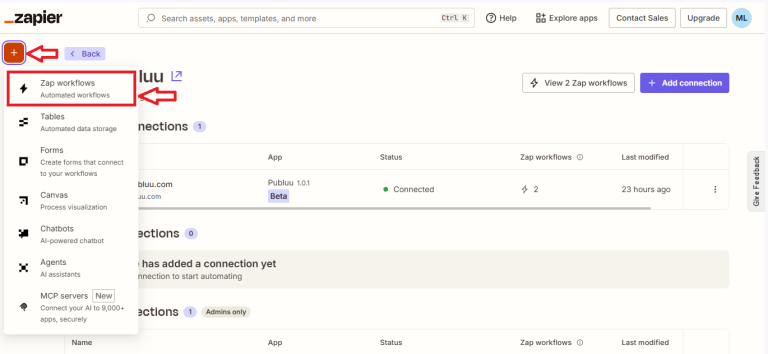
If you want to continue and create a new workflow, click the orange + icon in the left corner to start the process of building your Zap.
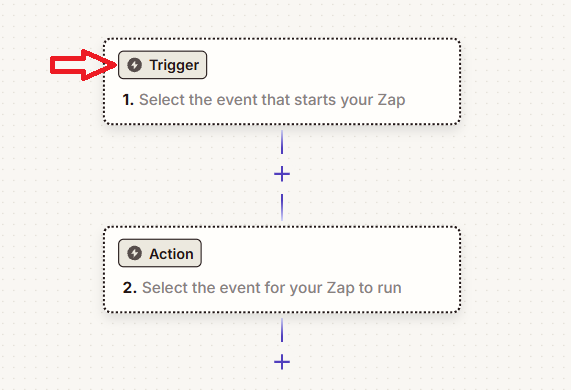
If you are ready and if you want to start triggering your first actions, click the Trigger button.
Then select Publuu from your top apps.
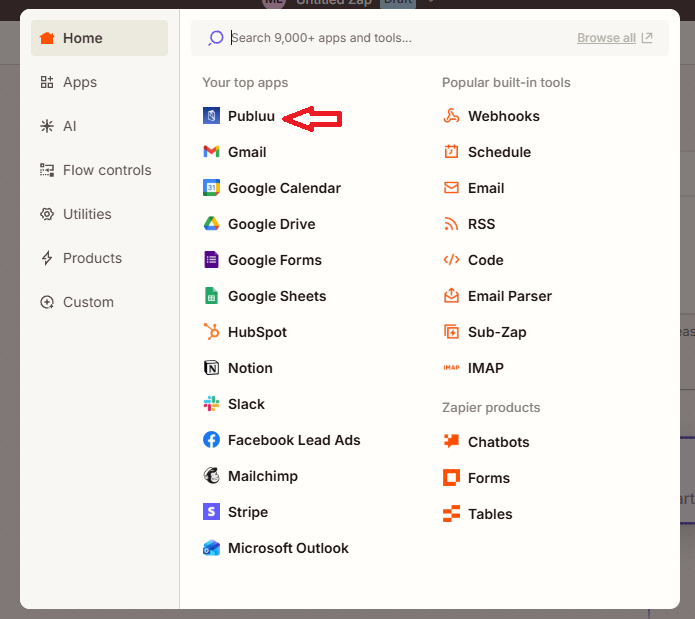
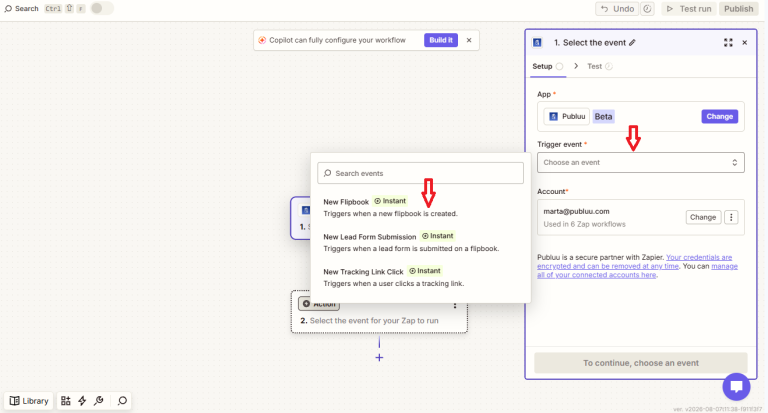
Next, click on the white field to choose the trigger you want Publuu to use. In our example, we are going to select New Flipbook, so that Zap will run whenever a new flipbook is created in our Publuu account.
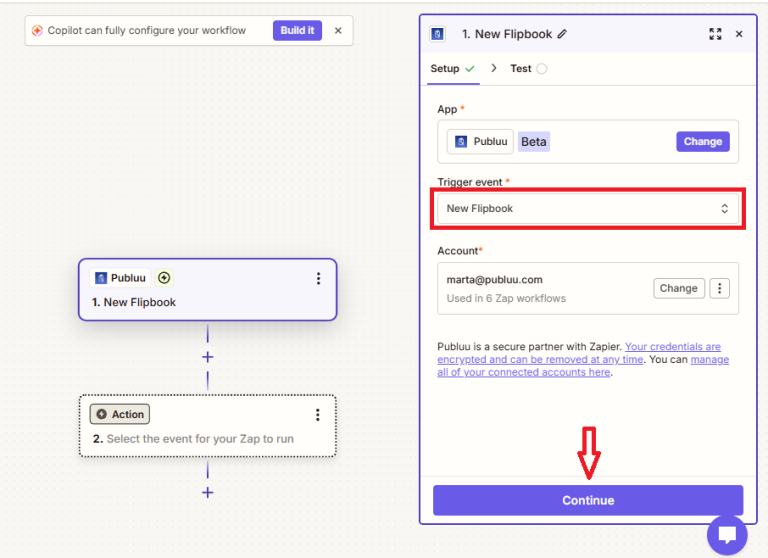
Once you've made your selection, the chosen trigger (New Flipbook) will appear in the Trigger Event field. For the account field, your Publuu account will appear automatically once you've logged in before. Then click Continue to move forward with the setup.
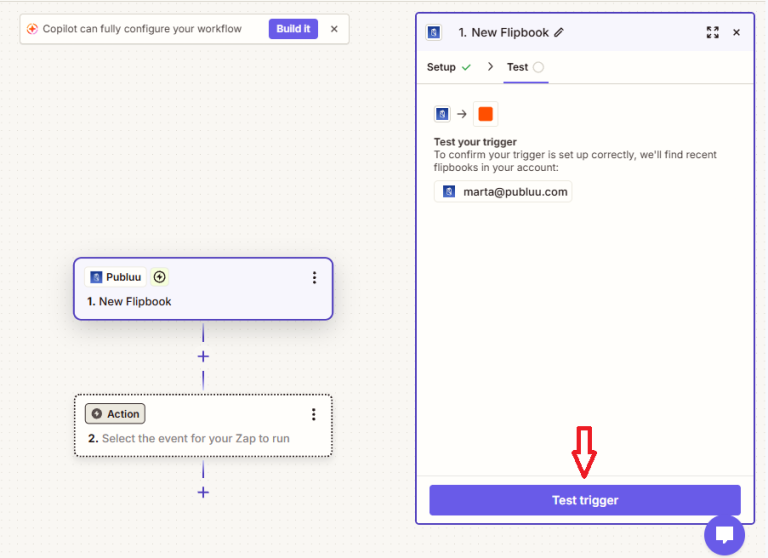
Next, click the Test trigger button to let Zapier check your Publuu account and confirm that the New Flipbook trigger is set up correctly.
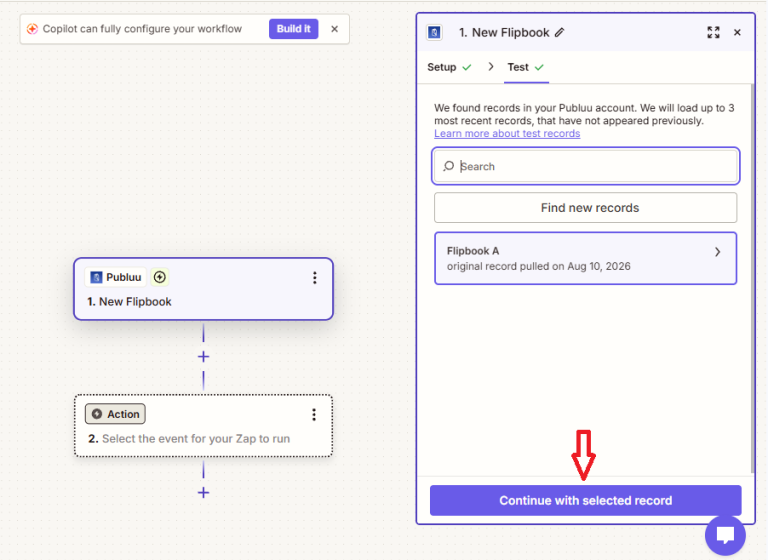
At this point, Zapier has automatically found recent flipbooks in your Publuu account already. Select the flipbook record that appears, then click Continue with selected record to confirm that your trigger is working correctly too.
In the meantime, you will also start to receive an email from the address linked to your Zapier account. It will be sent to your Publuu email and will notify you that a new flipbook has been created, including its link and the publication name, so you're aware. Then, whenever a new flipbook is added to your account, you will automatically receive notifications.
So well done! Now you've successfully connected Publuu with Zapier and taken your first steps into automation.
Are you willing to streamline even more of your workflow? Then continue to make more Zaps and your daily work will surely become more efficient.
You may be also interested in:
How to create a flipbook with Canva?
How to prepare PDFs to create the best quality flipbooks?
